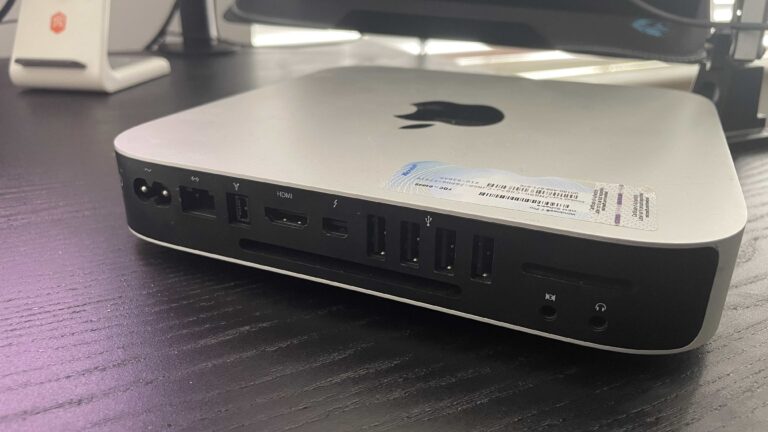
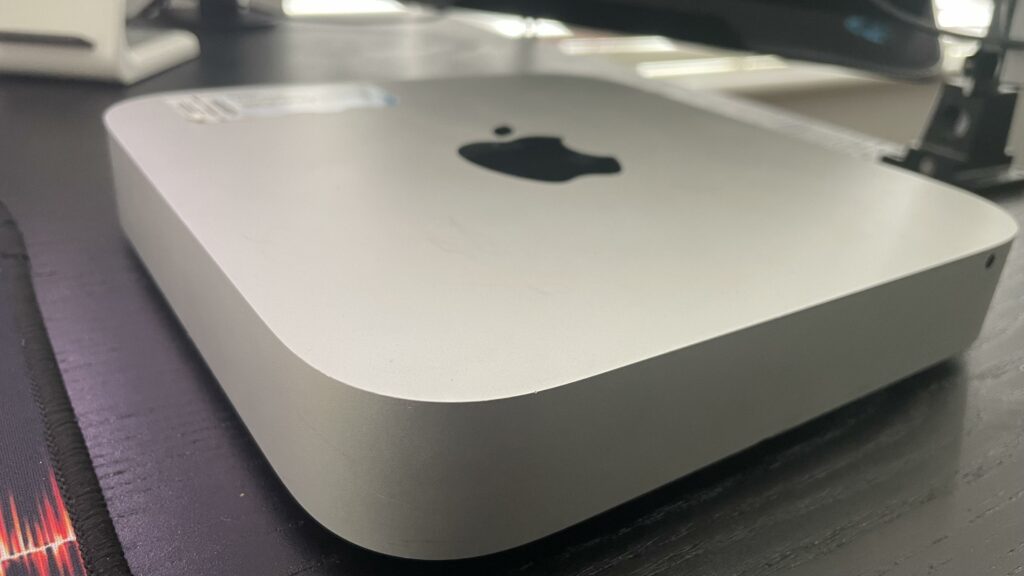
Adding USB drive to Ubuntu Server for Docker Containers to use. Server running on a Mac Mini 2012 16Gb ram, 1Tb SSD Drive & 1Tb USB
Overview:
- Connect and Mount the External USB Drive
- Configure Permissions and Ownership
- Modify Transmission Docker Configuration to Use the External Drive
- Verify Transmission is Saving Downloads to the External Drive
Here we go 🙂


Step 1: Connect and Mount the External USB Drive
1.1 Connect the USB Drive
- Physically connect your external USB hard drive to your Mac Mini running Ubuntu Server.
1.2 Identify the USB Drive
- Open a terminal on your Ubuntu Server.
- Run the following command to list all disk devices:
sudo fdisk -l- Look for your external USB drive in the output. It will typically be something like
/dev/sdbor/dev/sdc. Be careful to identify the correct drive to avoid data loss.
Example Output:
Disk /dev/sdb: 500 GB, 500107862016 bytes1.3 Create a Mount Point
- Choose a directory where you want to mount the external drive. For this guide, we’ll use
/mnt/external. - Create the directory:
sudo mkdir -p /mnt/external1.4 Mount the USB Drive
- Option A: If the Drive Has a Single Partition
- Assuming your drive’s partition is
/dev/sdb1, mount it:sudo mount /dev/sdb1 /mnt/external - Option B: If the Drive Has Multiple Partitions
- Identify the correct partition (e.g.,
/dev/sdb1,/dev/sdb2) that you want to use. - Mount the desired partition:
sudo mount /dev/sdb1 /mnt/external
1.5 Verify the Drive is Mounted
- Run:
df -h- You should see an entry for
/mnt/external.
1.6 Automate Mounting at Boot (Optional but Recommended)
- To ensure the drive mounts automatically at boot, you can add an entry to
/etc/fstab. - Get the UUID of the Drive:
sudo blkid /dev/sdb1Example Output:
/dev/sdb1: UUID="your-drive-uuid" TYPE="ext4" PARTUUID="some-partuuid"- Edit the
/etc/fstabFile:
sudo nano /etc/fstab- Add the Following Line at the End:
UUID=your-drive-uuid /mnt/external ext4 defaults 0 2- Replace
your-drive-uuidwith the UUID from theblkidcommand. - Replace
ext4with the filesystem type of your drive (e.g.,ntfs,vfat,ext4). - Save and Exit:
- Press
Ctrl + O, thenEnterto save. - Press
Ctrl + Xto exit. - Test the
fstabEntry:
sudo mount -a- If no errors appear, the entry is likely correct.
Step 2: Configure Permissions and Ownership
2.1 Determine the UID and GID of Your User
- Assuming you’re using the user
albertoxie(replace with your username if different):
id $(whoami)Example Output:
uid=1000(albertoxie) gid=1000(albertoxie) groups=1000(albertoxie),...- Note the UID and GID (both
1000in this example).
2.2 Change Ownership of the Mount Point
- Change the owner to your user:
sudo chown -R 1000:1000 /mnt/external- Replace
1000:1000with your UID and GID if different.
2.3 Set Appropriate Permissions
- Set the permissions to allow read/write access:
sudo chmod -R 775 /mnt/external- Optional: If you want all users to have read/write access, you can set permissions to
777, but this is generally not recommended for security reasons.
Step 3: Modify Transmission Docker Configuration
Now, we’ll configure the Transmission Docker container to use the external USB drive for downloads.
3.1 Stop the Existing Transmission Container
- If you have a Transmission container already running:
  docker stop transmission
  docker rm transmission
3.2 Run the Transmission Container with Updated Volume Mapping
- Run the container with the external drive mounted to
/downloads:
  docker run -d \
    --name=transmission \
    -e PUID=1000 \
    -e PGID=1000 \
    -e TZ=Europe/Dublin \
    -p 9091:9091 \
    -p 51413:51413 \
    -p 51413:51413/udp \
    -v /home/albertoxie/.config/appdata/transmission:/config \
    -v /mnt/external:/downloads \
    --restart unless-stopped \
lscr.io/linuxserver/transmission:latest- Replace
/home/albertoxiewith your actual username if different. - Ensure
PUIDandPGIDmatch your UID and GID (usually1000). - Note: This command maps
/mnt/externalon the host to/downloadsin the container.
3.3 Verify the Container is Running
- Check the status:
docker ps- You should see the
transmissioncontainer running.
Step 4: Configure Transmission to Use the Downloads Directory
4.1 Access the Transmission Web UI
- In your web browser, navigate to:
http://your-server-ip:9091- Replace
your-server-ipwith the IP address of your Ubuntu Server.
4.2 Update the Download Directory in Transmission Settings
- Click on the wrench icon (Settings) in the Transmission Web UI.
- Under Downloading, set the “Download to:” directory to
/downloads. - If you use subdirectories (e.g.,
incompleteandcomplete), you can set: - Incomplete Downloads:
/downloads/incomplete - Completed Downloads:
/downloads/complete - Ensure that these directories exist on the external drive:
  mkdir -p /mnt/external/incomplete
  mkdir -p /mnt/external/complete
4.3 Save the Settings
- Apply the changes and save the settings.
Step 5: Test the Configuration
5.1 Add a Test Torrent
- In the Transmission Web UI, add a new torrent or magnet link.
- Start the download.
5.2 Verify Files are Downloaded to the External Drive
- On your Ubuntu Server, check the external drive to confirm that the files are being saved there:
ls -l /mnt/external- You should see the downloaded files or the
incompleteandcompletedirectories with files inside.
5.3 Monitor Permissions and Ownership
- Ensure that the downloaded files have the correct ownership:
ls -l /mnt/external- Files should be owned by UID
1000and GID1000(or your user’s UID and GID).
Additional Considerations
File System Compatibility
- NTFS Drives:
- If the external drive is formatted with NTFS (common for drives used with Windows), you may need to install
ntfs-3gto ensure proper read/write support:sudo apt update sudo apt install ntfs-3g - Modify the
/etc/fstabentry for NTFS drives:UUID=your-drive-uuid /mnt/external ntfs-3g defaults,uid=1000,gid=1000,dmask=022,fmask=133 0 0 - exFAT Drives:
- For exFAT-formatted drives (common for compatibility between Windows and macOS):
sudo apt install exfat-fuse exfat-utils - Modify the
/etc/fstabentry accordingly:UUID=your-drive-uuid /mnt/external exfat defaults,uid=1000,gid=1000,dmask=022,fmask=133 0 0 - ext4 Drives:
- If you can format the drive, using
ext4is recommended for Linux systems.
Safety and Data Integrity
- Backup Important Data:
- Always ensure important data is backed up before formatting drives or making significant changes.
- Unmount the Drive Safely:
- Before disconnecting the drive, unmount it properly to avoid data corruption:
sudo umount /mnt/external
Summary
- Mount the external USB drive to a directory on your Ubuntu Server.
- Configure permissions to allow the Docker container to read and write to the drive.
- Update the Transmission Docker container to map the external drive to the
/downloadsdirectory. - Adjust Transmission settings to save downloads to
/downloads(which now points to your external drive). - Test the setup by downloading a file and verifying it saves to the external drive.


Post Comment