WEBUZO – Multi User Control Panel
Webuzo is a web-based software application that simplifies the installation and management of popular web applications and server software. It is designed for web developers, system administrators, and hosting providers who want to streamline their web hosting environment. With Webuzo, users can easily install and manage web applications like WordPress, Joomla, and Drupal, as well as server software like Apache, NGINX, and MySQL, through a simple and user-friendly interface. Webuzo also offers automated backups, restore options, and a wide range of other features to make server management as easy and efficient as possible. It is available as a standalone product or can be integrated with hosting control panels like cPanel, Plesk, and DirectAdmin. Overall, Webuzo is a powerful and flexible tool for managing web hosting environments, offering an intuitive interface and a comprehensive set of features to meet the needs of a wide range of users.
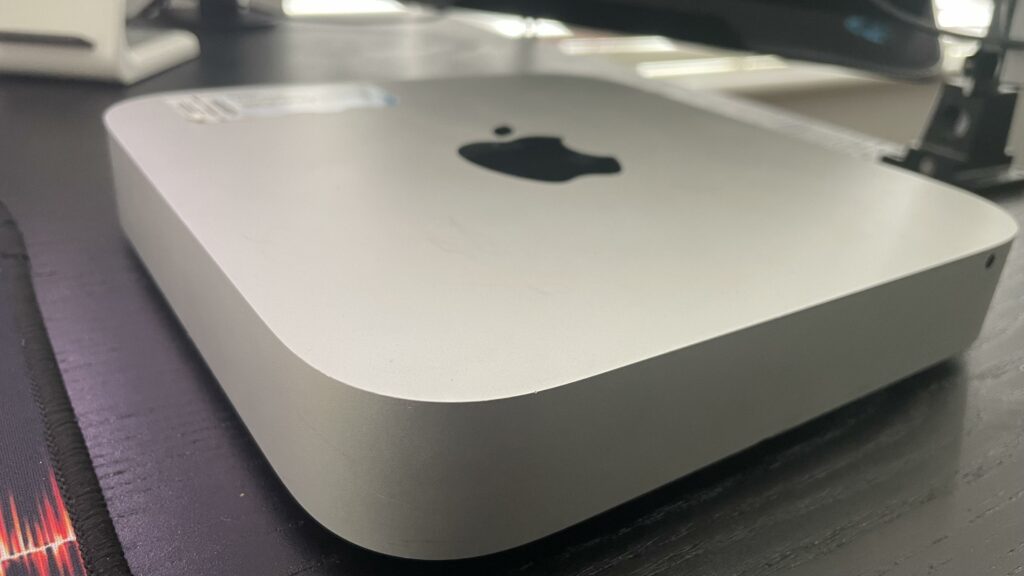
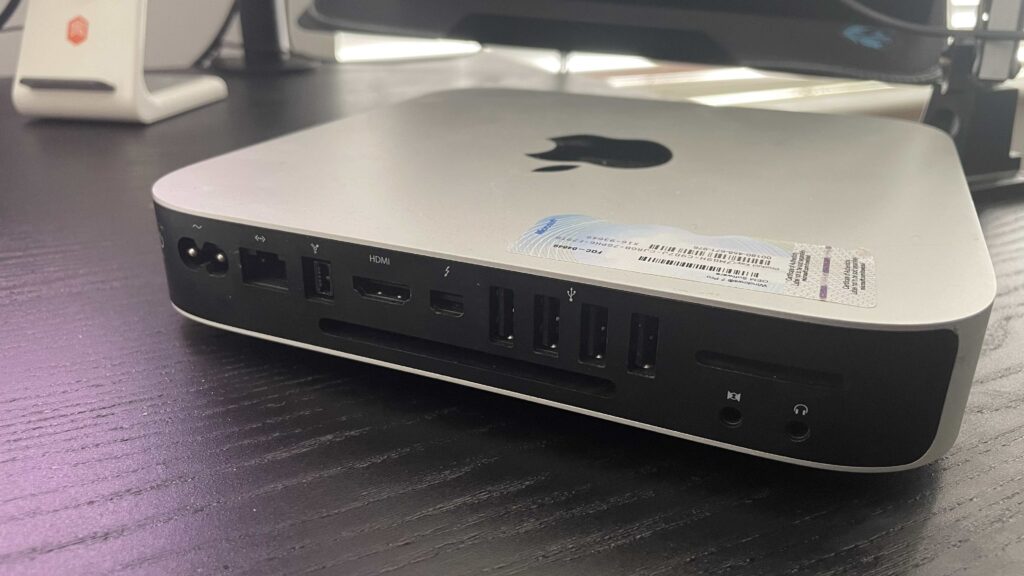
Join me as I repurpose these low wattage i5 late 2012 MAC MINI
First step is to get the Operating system up and running, this will be Ubuntu.
Sure, here’s a step-by-step guide to downloading Ubuntu, creating a bootable USB drive, and installing Ubuntu on a Mac mini:
Download Ubuntu ISO
- Go to the official Ubuntu website at https://ubuntu.com/download/desktop.
- Select the version of Ubuntu you want to download. We recommend downloading the LTS (Long-Term Support) version.
- Click on the “Download” button to start the download.
Create Bootable USB Drive
- Insert a USB drive into your Mac mini with at least 2GB of storage space.
- Download and install the balenaEtcher software from https://www.balena.io/etcher/.
- Open balenaEtcher and click on the “Select Image” button.
- Navigate to the location where you downloaded the Ubuntu ISO file and select it.
- Click on the “Select Drive” button and choose the USB drive you inserted earlier.
- Click on the “Flash!” button to start creating the bootable USB drive. This may take a few minutes to complete.
Install Ubuntu on Mac mini
- Shutdown your Mac mini and insert the USB drive you just created.
- Turn on your Mac mini and immediately press and hold the “Option” key on your keyboard.
- Select the USB drive from the boot menu and press “Enter”.
- You will see the Ubuntu installer screen. Select your language and click on the “Install Ubuntu” button.
- Follow the on-screen instructions to select your time zone, keyboard layout, and other settings.
- When prompted to choose an installation type, select “Erase disk and install Ubuntu”. This will erase all existing data on your hard drive and install Ubuntu as the sole operating system.
- Follow the on-screen instructions to complete the installation process. This may take some time to complete.
- Once the installation is complete, you can login to your new Ubuntu system and start using it.
That’s it! You now have Ubuntu installed on your Mac mini.
Sure, here is a step-by-step guide to installing Webuzo on Ubuntu:
- Connect to your Ubuntu server using SSH or other remote access tools.
- Update your system by running the following command:
sudo apt-get update && sudo apt-get upgrade- Install required packages by running the following command:
sudo apt-get install wget curl unzip- Download the Webuzo installer script by running the following command:
wget -N http://files.webuzo.com/install.sh- Make the script executable by running the following command:
chmod 0755 install.sh- Run the installer script with root privileges by running the following command:
sudo ./install.sh- Follow the on-screen instructions to complete the installation process. You will be prompted to enter your email address, license key (if applicable), and other settings.
- Once the installation is complete, you can access the Webuzo control panel by navigating to the server’s IP address or hostname followed by the port number 2002 in your web browser. For example, if your server’s IP address is 192.168.0.100, you can access the control panel by going to http://192.168.0.100:2002.
That’s it! You now have Webuzo installed and ready to use on your Ubuntu server. Well that is if all the above worked first time for you.

Post Comment