Liceneced Virtualmin – Intel Xeon Server Install via Proxmox 7
Setup a hex core server for work use. Holds 8 Drives 2.5″ and has two 32gb ssd 2.5″ and one 64gb boot drive USB3 drive in USB2 interface running Proxmox version 7.
192.168.1.105 gets you to the party zone.
INSTALLING PROCESS JUNE 2022
The easiest way to get the install script onto your server, is to login to your server and use wget or curl.
For example:
# wget https://software.virtualmin.com/gpl/scripts/install.sh
For Virtualmin Professional, use the command suggested on your Software Licenses page.
Run the Install Script and Configure Virtualmin
Execute the downloaded install script using a command like the following:
# sudo /bin/sh install.sh
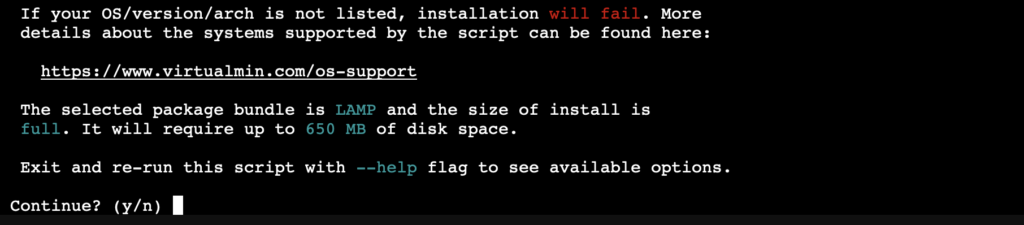
There are some available options to install different configurations (including installing nginx instead of Apache, and leaving out some of the mail processing stack for small memory systems). Run the install script with the --help flag for a list of available options, and consult the documentation, especially about the available installation bundles and the minimal installation mode, if choosing a non-default installation type.
The install script may ask you some questions. If your system does not have a fully qualified hostname, the script will ask you to provide one. Or, if your system doesn’t have enough memory for the installation type you’ve chosen, it’ll offer to create a swap file.
After a few minutes, your system should have everything it needs to provide a full-featured virtual web hosting environment! Now login to Virtualmin by browsing to port 10000 on the address of your server using the HTTPS protocol. Ignore the SSL certificate validation error (the SSL certificate is a self-signed one after initial installation, but can be replaced with a valid certificate after initial configuration is complete).
Follow the steps in the post-install wizard to setup Virtualmin to suit your environment and needs. Virtualmin will check the configuration of the system and validate some server settings to insure your system is ready for service.
Click Create Virtual Server to start making your first website in Virtualmin!
To get Virtualmin up and running I had to install Debian 10 as 11 isn’t fully supported as yet.
I hadn’t set up a fqd fully qualified domain until now for it. https://meritswebserver.tk/
at the moment no DNS server is setup so everything gets stoped via the UDMPRO.
sh install.sh –uninstall will remove any trace of Virtualmin if you used the script to install it which I had done. But I wanted to start again with the new domain.

so here is the install process from the script

Uninstalling Virtualmin June 2022
There are many levels of uninstalling Virtualmin. The most extreme is using the --uninstall flag of the install script:
~# sh install.sh --uninstallWarning: This is a rather haphazard uninstall routine, that will remove pretty much everything Virtualmin installed, including its core dependencies. This should never be done on a system that is in production. It is very destructive. It is primarily for use when you tried an installation option (for example using Nginx instead of Apache) and have decided to change after trying it out.
Downgrading Virtualmin Professional to GPL June 2022
If you no longer need the features of Virtualmin Professional, but wish to continue to use Virtualmin on your system, you can downgrade quite easily by running:
~# virtualmin downgrade-licence --downgradeBeware: It will completely replace Virtualmin Pro package with GPL variant, making it impossible to use Pro features anymore. It will also disable all reseller accounts. By downgrading to GPL, you will no longer support the product development.

Post Comment